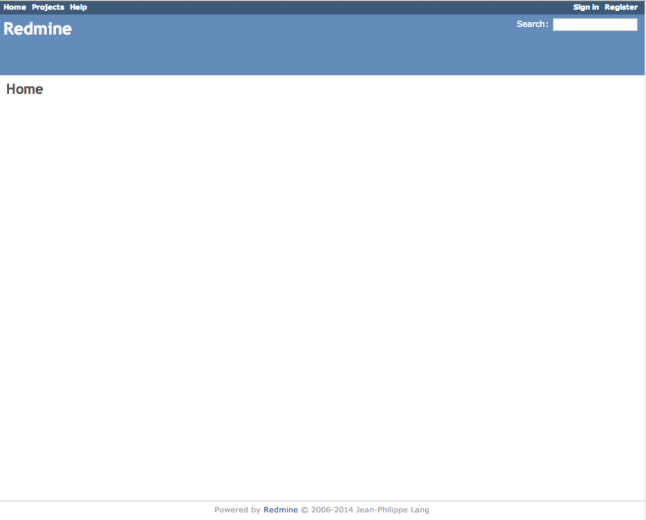
This installation assumes that You have already Apache 2.2 and MySQL 5.x up and running.
Ruby 2.1
For whole operation we’ll need to install Development Tools, which can be done by:
yum groupinstall development
Then we’ll install ruby 2.1.x via rvm
curl -L get.rvm.io | bash -s stable
source /etc/profile.d/rvm.sh
Now we’ll have to reload rvm and install ruby
rvm reload
# this will install newest tag from 2.1 branch
rvm install 2.1
Now we want to make this version as default and this is done by:
rvm use 2.1.x --default
Phusion Passenger
To run Redmine we’ll need Passenger with it’s Apache module.
gem install passenger
passenger-install-apache2-module
Installer will guide You through process. At the end You’ll need to add /etc/httpd/conf.d/passenger.conf :
LoadModule passenger_module /usr/local/rvm/gems/ruby-2.1.1/gems/passenger-4.0.41/buildout/apache2/mod_passenger.so
<IfModule mod_passenger.c>
    PassengerRoot /usr/local/rvm/gems/ruby-2.1.1/gems/passenger-4.0.41
    PassengerDefaultRuby /usr/local/rvm/gems/ruby-2.1.1/wrappers/ruby
</IfModule>
Of course versions may vary depending on when You’re doing this. Installer will however give You this details.
Redmine 2.5
Download latest version from Redmine official webpage by wget and untar it:
wget http://www.redmine.org/releases/redmine-2.5.1.tar.gz
tar xzvf redmine-2.5.1.tar.gz
mv redmine-2.5.1 /var/www/html/redmine
Now it’s time to configuration. Let’s start from database. Edit config/database.yml and pass there Your database credentials
production:
 adapter: mysql2
 database: redmine
 host: localhost
 username: redmine
 password: redmine
 encoding: utf8
Next we’ll setup mail delivery data. Edit config/configuration.yml
production:
 email_delivery:
 delivery_method: :smtp
 smtp_settings:
 address: "localhost"
 port: 25
 authentication: :login
 domain: 'your.server.com'
 user_name: 'redmine@your.server.com'
 password: 'YourSecretPassword.600'
It’s time to bundle our Redmine:
bundle install --without development test
bundle exec rake generate_secret_token
RAILS_ENV=production bundle exec rake db:migrate
Then we’ll have to change ownership of /var/www/html/redmine
chown -R apache. /var/www/html/redmine
Configure Apache
It’s time to add VirtulaHost to Your Apache instance
<VirtualHost *:80>
 ServerName your.server.com
 ServerAlias www.your.server.com
 DocumentRoot /var/www/html/redmine/public

 <Directory /var/www/html/redmine/public>
   AllowOverride all
   Options -Multiviews
 </Directory>
</VirtualHost>
Now restart Apache and You’re good to go !
service httpd graceful
Yay! Now You can login by passing admin/admin credentials. Have Fun!


