How to install Redmine 2.5 on CentOS 6.5

This installation assumes that You have already Apache 2.2 and MySQL 5.x up and running.

Ruby 2.1

For whole operation we’ll need to install Development Tools, which can be done by:

yum groupinstall development

Then we’ll install ruby 2.1.x via rvm

curl -L get.rvm.io | bash -s stable
source /etc/profile.d/rvm.sh

Now we’ll have to reload rvm and install ruby

rvm reload
# this will install newest tag from 2.1 branch
rvm install 2.1

Now we want to make this version as default and this is done by:

rvm use 2.1.x --default

Phusion Passenger

To run Redmine we’ll need Passenger with it’s Apache module.

gem install passenger
passenger-install-apache2-module

Installer will guide You through process. At the end You’ll need to add /etc/httpd/conf.d/passenger.conf :

LoadModule passenger_module /usr/local/rvm/gems/ruby-2.1.1/gems/passenger-4.0.41/buildout/apache2/mod_passenger.so
<IfModule mod_passenger.c>
    PassengerRoot /usr/local/rvm/gems/ruby-2.1.1/gems/passenger-4.0.41
    PassengerDefaultRuby /usr/local/rvm/gems/ruby-2.1.1/wrappers/ruby
</IfModule>

Of course versions may vary depending on when You’re doing this. Installer will however give You this details.

Redmine 2.5

Download latest version from Redmine official webpage by wget and untar it:

wget http://www.redmine.org/releases/redmine-2.5.1.tar.gz
tar xzvf redmine-2.5.1.tar.gz
mv redmine-2.5.1 /var/www/html/redmine

Now it’s time to configuration. Let’s start from database. Edit config/database.yml and pass there Your database credentials

production:
 adapter: mysql2
 database: redmine
 host: localhost
 username: redmine
 password: redmine
 encoding: utf8

Next we’ll setup mail delivery data. Edit config/configuration.yml

production:
 email_delivery:
 delivery_method: :smtp
 smtp_settings:
 address: "localhost"
 port: 25
 authentication: :login
 domain: 'your.server.com'
 user_name: 'redmine@your.server.com'
 password: 'YourSecretPassword.600'

It’s time to bundle our Redmine:

bundle install --without development test
bundle exec rake generate_secret_token
RAILS_ENV=production bundle exec rake db:migrate

Then we’ll have to change ownership of /var/www/html/redmine

chown -R apache. /var/www/html/redmine

Configure Apache

It’s time to add VirtulaHost to Your Apache instance

<VirtualHost *:80>
 ServerName your.server.com
 ServerAlias www.your.server.com
 DocumentRoot /var/www/html/redmine/public

 <Directory /var/www/html/redmine/public>
   AllowOverride all
   Options -Multiviews
 </Directory>
</VirtualHost>

Now restart Apache and You’re good to go !

service httpd graceful

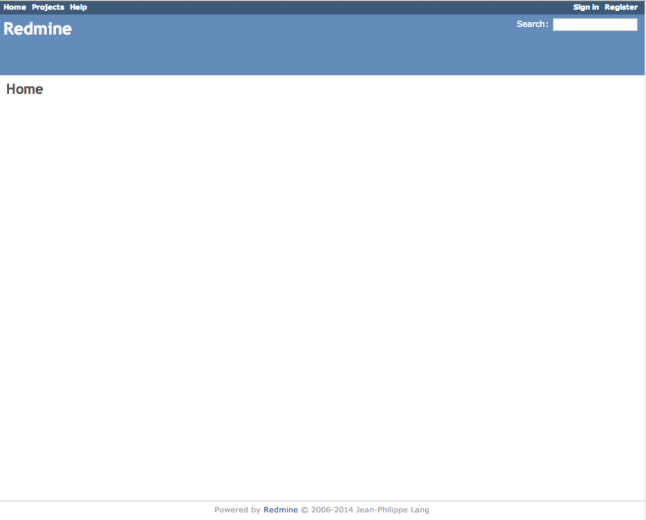
Yay! Now You can login by passing admin/admin credentials. Have Fun!

screenshot-2014-04-19-10.37.43

Zend Framework 1.x and Composer

Composer is a very useful tool for dependency management in PHP. Most of new and cutting edge frameworks like Zend Framework 2, Symfony 2, Laravel 4 etc. are designed to work with it very easily. Zend Framework 1 requires a little modifications.

Install Composer

Easiest way is just:

curl -sS https://getcomposer.org/installer | php

This will download composer.phar to current directory and You’ll be set to go.
If You however want to make composer a system-wide command, it’s pretty easy too:

mv composer.phar /usr/local/bin/composer

Now instead of using php composer.phar [command] , You can do simply: composer [command]

Zend Framework 1.x project

Let’s assume that we already have working ZF1 project and we’d like to switch it to composer.

cd ~/Projects/zf1-project
php composer.phar init

# alternatively if You've made composer system-wide
composer init

Now You’ll have to fill some details about Your current project and then composer will ask You about dependencies. Choose Interactive mode and search for package zendframework1 then enter the number for the line that matches zendframework/zendframework1. Then You’ll have to pass version of the library. If You want to have latest enter 1.*.

Next after another prompt about dependencies just hit return, and for next question answer ‘no’, because we don’t want to define any dev dependencies.

This should create file composer.json which looks similar to:

{
    "name": "genjusz/zf1-project",
    "description": "Zend Framework 1.x integration with Composer",
    "require": {
        "zendframework/zendframework1": "1.*"
    },
    "authors": [
        {
            "name": "Kuba Florczuk"
        }
    ]
}

Install dependencies

Now when we have our composer.json ready it’s time to install our library

php composer.phar install

This will create vendor directory in your project. It’s wise to add this to .gitignore if You maintain Your project with git.

Adjust project files

Last thing to do is modify Your public/index.php file and add this lines just above require_once 'Zend/Application' :

// Ensure library/ is on include_path
set_include_path(implode(PATH_SEPARATOR, array(
    realpath(APPLICATION_PATH . '/../library'),
)));

/** Composer autoloader */
if (file_exists(realpath(APPLICATION_PATH . '/../vendor/autoload.php'))) {
    require_once realpath(APPLICATION_PATH . '/../vendor/autoload.php');
}

/** Zend_Application */
require_once 'Zend/Application.php';

This will allow You to use any other libraries that You’ll install via Composer.